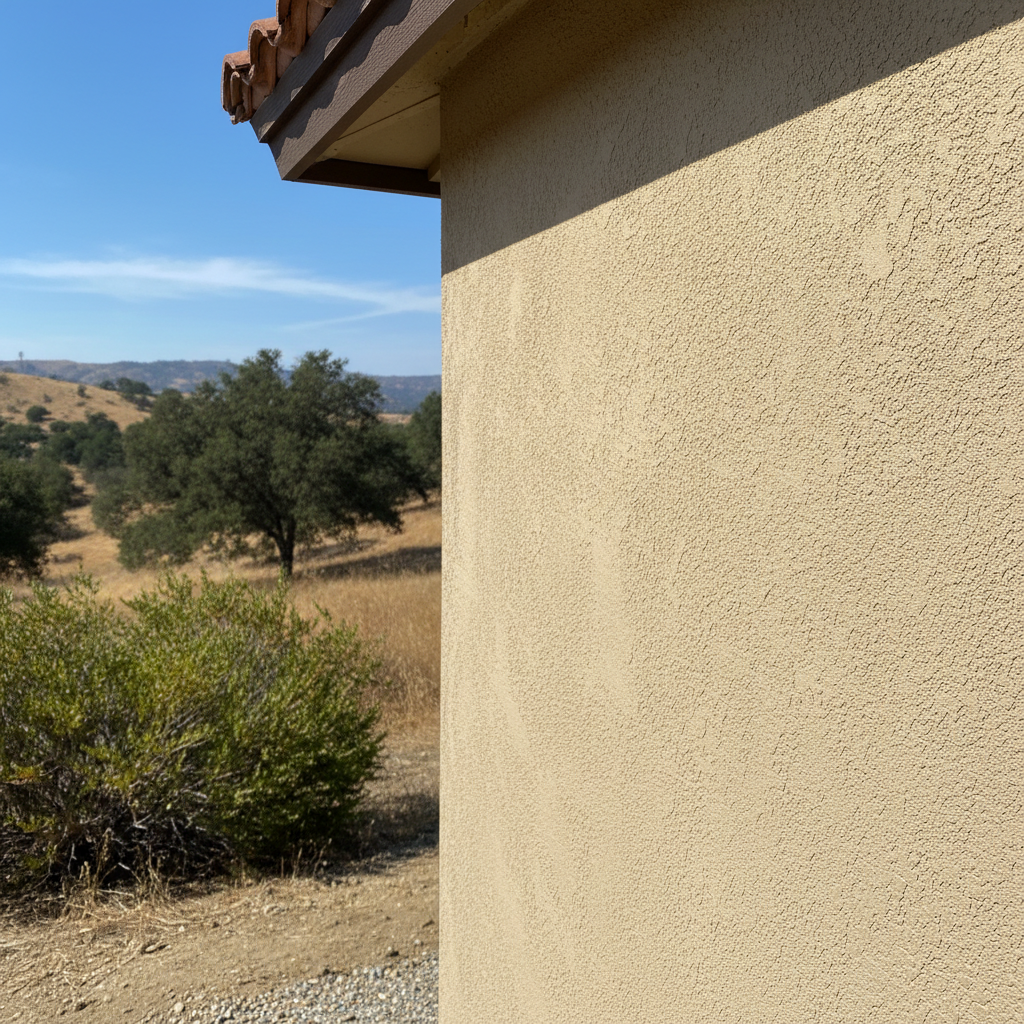
So, your stucco's seen better days, huh? Maybe it's got cracks big enough to lose a small pet in, or it's just looking tired and worn out. Whatever the reason, you're probably wondering about stucco replacement. It's a big job, no doubt, but understanding the process can save you a lot of headaches and cash.
Before You Start: Planning and Assessment
First off, you need to figure out if you're actually replacing the whole thing or just doing a major repair. Sometimes, what looks like a total replacement job can be fixed with extensive patching and recoating. This is where a good, honest inspection comes in handy. I've seen plenty of homes, especially those built in the 70s and 80s around places like Dos Vientos or the North Ranch area, where the original stucco is just plain old and has taken a beating from our dry, hot summers and occasional wet winters.
- Assess the Damage: Are we talking about a few hairline cracks, or is the stucco crumbling off in sheets? Is there water intrusion? Push on the stucco – does it feel soft or spongy anywhere? That's a bad sign, usually meaning water got behind it and is rotting the sheathing.
- DIY vs. Pro: If it's just small, superficial cracks and you're comfortable with a trowel, you might be able to patch it yourself. But if you're seeing widespread damage, water issues, or the stucco is delaminating from the wall, you're definitely looking at a professional job. Trying to DIY a full replacement is like trying to rebuild an engine with a screwdriver and a YouTube video – it's probably not going to end well, and you'll pay more to fix it later.
- Budget and Timeline: Get a realistic idea of what this project will cost and how long it'll take. Full stucco replacement isn't cheap, and it's not a weekend project. Good contractors are often booked out, so plan ahead.
- Permits: For full stucco replacement, you'll almost certainly need a permit from the City of Thousand Oaks. Don't skip this. It's there to protect you and ensure the work meets code. A good contractor will handle this for you.
During the Project: What to Expect
Once you've decided to go with a pro for a full replacement – and trust me, for a full replacement, that's the smart move – here's what the process generally looks like.
Demolition and Inspection
First, the old stucco has to come off. This is messy, dusty work. Your contractor will protect your landscaping and windows as much as possible. Once the old stuff is gone, we get to see what's underneath. This is crucial. We're looking for:
- Sheathing Damage: Any plywood or OSB that's rotted or compromised needs to be replaced.
- Framing Issues: Sometimes, water damage goes deeper, affecting the wood framing. This needs to be addressed immediately.
- Flashing and Waterproofing: This is the time to ensure all windows, doors, and penetrations are properly flashed and sealed. This is often where original stucco jobs failed, allowing water in. We use modern, high-quality weather-resistive barriers.
This phase is non-negotiable. You can't put new stucco over a rotten foundation and expect it to last.
Installation of New Stucco
Once the substrate is solid and properly waterproofed, the new stucco system goes on. This typically involves:
- Weather-Resistive Barrier: Usually a couple of layers of building paper or a synthetic wrap. This is your primary defense against water.
- Lath: Metal lath (chicken wire-looking stuff) is attached to the sheathing. This gives the stucco something to grab onto.
- Scratch Coat: The first layer of cement plaster. It's literally scratched to provide a mechanical key for the next layer.
- Brown Coat: The second layer, which brings the wall out to its final plane and smoothness.
- Finish Coat: This is the top layer, which gives your home its final color and texture. There are tons of options here, from smooth finishes to sand finishes, synthetic acrylics, and traditional cement-based finishes. We'll help you pick one that looks great and holds up to our local climate.
This process takes time. Each coat needs to cure properly before the next one goes on. Don't let anyone rush it.
After the Project: Maintenance and Care
Once your new stucco is up and looking fantastic, your job isn't quite over. New stucco, especially the finish coat, needs some time to fully cure. Your contractor will give you specific instructions, but generally:
- Curing: For traditional stucco, you might need to lightly mist it with water for a few days, especially in our dry Thousand Oaks air, to help it cure evenly and prevent premature cracking.
- Inspections: Do a visual check every year or so. Look for any new cracks, especially around windows and doors. Catching small issues early is key to preventing big problems later.
- Cleaning: Stucco is pretty low maintenance. A gentle wash with a garden hose and a soft brush can remove dirt and cobwebs. For tougher stains, a mild detergent and water usually do the trick. Avoid high-pressure washers unless you know what you're doing – they can damage the finish.
- Painting: If you chose a paint-ready finish, you'll want to paint it within a reasonable timeframe. Use a high-quality elastomeric paint designed for stucco.
A properly installed stucco system by a company like Thousand Oaks Stucco & Plastering should last you decades. It's a significant investment, but it adds value, protects your home, and boosts curb appeal. Do your homework, hire a reputable professional, and you'll be enjoying your beautiful new exterior for years to come.